
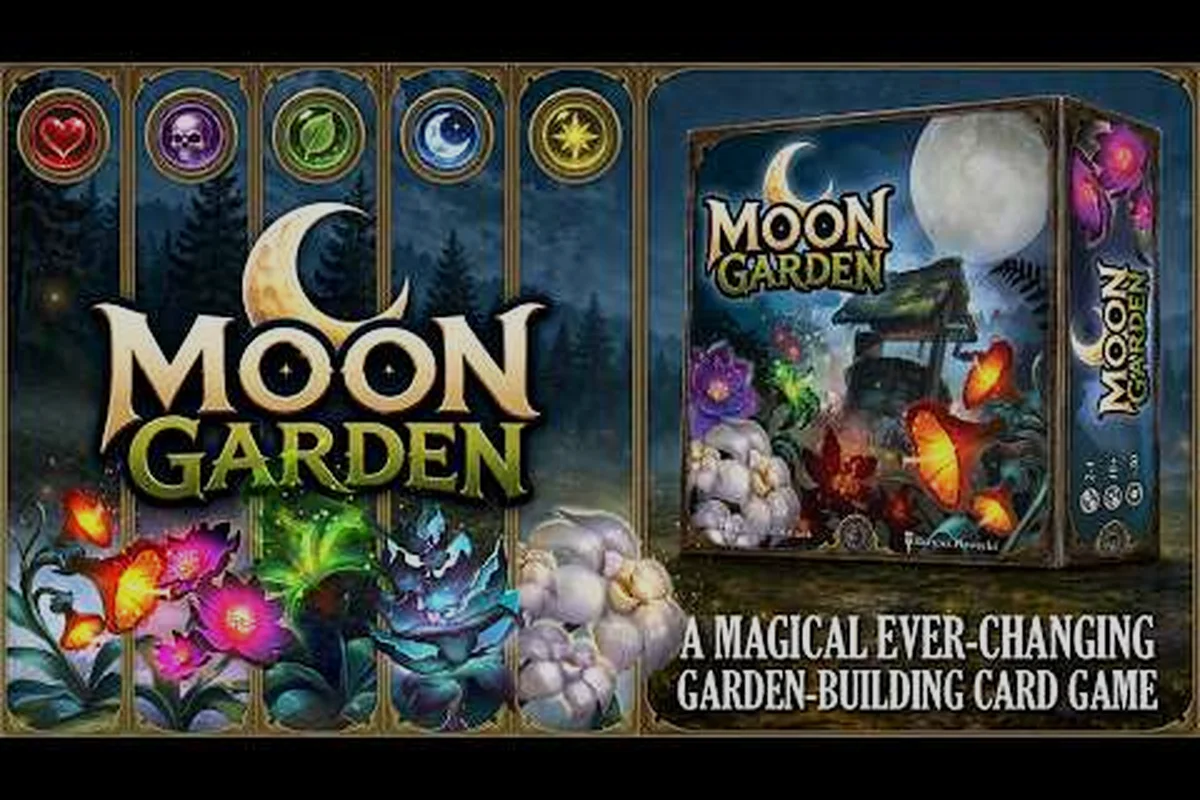
New to Moon Garden and unsure what the Garden Pods actually do? This Moon Garden beginner guide walks you through the cozy incremental loop so your first hour produces real progress instead of confused clicking. You will learn how to plant flowers, convert output into pollen, spend pollen at the pachinko vending machine, and bank Stardust upgrades that survive every reset.
Moon Garden launched on 11 September 2026 from developer Kairos Games LLC, and the community already describes it as a relaxing pixel-art incremental about growing your way home from the moon. According to the official Moon Garden Steam page, the entire game is mouse-driven, has no combat, and revolves around five verbs: plant, harvest, spend, upgrade, automate. The rest of this Moon Garden game guide turns those five verbs into a working routine you can follow from launch to your first escape attempt.
Understanding the Moon Garden Core Loop
Moon Garden asks you to grow a single central tree tall enough to leave the moon, but you do not water that tree directly. You build a small production chain around it and let numbers compound while you read helper text. If you have ever played an idle game before, the bones will feel familiar; if not, the Moon Garden idle guide is a useful sibling read after you finish this one.
Reading the chain in the order you actually unlock each node keeps the core loop from feeling like a wall of disconnected verbs: you first place Garden Pods beside the central tree, then spend the pollen they generate on the pachinko machine to roll rarer seed packs, which feed back into the pods, and only after the tree reaches its first major height threshold do Robots, Satellites, and the Stardust-based prestige loop open up to automate the earlier steps.
-
Garden Pods accept seeds and slowly produce flowers, which auto-convert into pollen over time.
-
Pollen is the soft currency you spend in the pachinko vending machine for new, rarer seed packs.
-
Stardust is the hard currency earned from completing cycles of the tree, and it persists across resets as permanent upgrades.
-
Robots and Satellites automate parts of the chain so you can keep progressing while idle or reading menus.
-
The Tree is your win condition; mulching it resets the surface garden but grants a Stardust payout based on how tall it grew.
What Every Currency Actually Buys
The economy looks intimidating at first because three currencies show up in the first ten minutes, but each one has a clean role. This table summarises how the Moon Garden community currently categorises them, based on the consensus in launch-week reviews.
| Currency | Where it comes from | What it spends on | Does it persist? |
|---|---|---|---|
| Pollen | Flowers ripening in Garden Pods | Pachinko seed packs, basic buildings, robot parts | Resets each cycle |
| Stardust | Mulching the central tree | Permanent upgrades, automation unlocks, helpers | Persists across all runs |
| Research Points | Discovering new flower species | New Garden Pod slots, advanced seeds, satellite tier-ups | Persists across all runs |
Think of pollen as your day-to-day gas, Stardust as your savings account, and Research Points as the keys that open new branches of the tech tree. The Moon Garden tips and tricks in this guide focus mostly on Stardust and Research Points, because that is where the long-term progress lives.
Setting Up Your First Garden Pods
Your first 15 minutes in Moon Garden are about getting one Garden Pod to a steady rhythm. The pod accepts a seed, grows a flower, and a little floating counter fills with pollen while you are doing other things. Most players waste this window by clicking around the map; instead, stay in one pod and watch the helper text.
Reading the Helper Text Before You Expand
Every building in Moon Garden ships with a multi-line tooltip that explains the math behind it. Community feedback at launch flagged that the UI introduces several mechanics at once, and the developer recommends reading each helper before you buy a second copy of a building. Spend ten seconds per tooltip; the long-term payoff is huge because later upgrades often scale with a number you only noticed in that text.
Choosing Your First Three Seeds
The pachinko machine gives you random seed packs in exchange for pollen, and the first three pulls are the most important decision of the run. A balanced opener beats chasing the rarest flower, because the machine's pachinko board gives you a higher drop rate for adjacent species. This table lists the three archetypes most players gravitate toward during their first run.
| Opening archetype | Best for | Risk | First upgrade priority |
|---|---|---|---|
| Pollen-heavy (e.g. Twinbloom, Moonbell) | Fast pachinko pulls | Low ceiling per flower | More Garden Pods |
| Rare-seed hunter (e.g. Lumenshade, Cometlily) | Long-term value per slot | Slow early pollen | Pod fertility upgrades |
| Balanced trio (one of each tier) | Smoother curve | No explosive spikes | Pod capacity, then pollen yield |
For a brand-new player, the balanced trio is the safest pick because it keeps your pachinko board flexible. If you want a deeper breakdown of the pachinko probabilities, the Moon Garden what to do first guide expands on seed order in detail.
Mulching Timing and the First Stardust Payout
Mulching is the act of resetting your central tree so it regrows stronger, and it is the only way to earn the Stardust that funds permanent upgrades. The catch is that the payout scales with tree height, not time spent, so mulching too early is the most common Moon Garden beginner mistake.
A good rule of thumb reported by the launch community is to mulch when the next 10 minutes of growth would add less than 5% to the tree's current height. At that point, the marginal pollen-per-Stardust ratio collapses and you are better off banking the payout. The table below shows roughly when that inflection point hits during a typical first run.
| Run milestone | Tree height (relative) | Approx. time | Should you mulch? |
|---|---|---|---|
| First plateau | 1x | ~20 min | No, keep growing |
| Second plateau | 3x | ~45 min | Wait one more push |
| Stardust threshold | 5x | ~70 min | Yes, buy first permanent upgrade |
| Mid-run target | 12x | ~2 hours | Yes, bank for two upgrades |
If you are unsure whether you are at the threshold, hover the mulch button: it shows a projected Stardust payout in green when the math is in your favour. Players who wait for that green number consistently report faster long-term progress than those who mulch on a timer.
Spending Stardust on Permanent Upgrades
Stardust is the resource that makes every future run easier, and spending it well early is the difference between a smooth first escape and a stalled second hour. There is no single best build, but the launch community has converged on a priority order that works for almost every first-time player.
The Safe Opening Priority
Think of these first three payouts as the foundation of your moon garden beginner guide loadout, because everything you buy later in the tech tree multiplies on top of them rather than standing alone. A common mistake new moon garden players make is grabbing cosmetic packs or late-game curios with their opening Stardust, only to realize that the Pod Fertility and Pollen Yield nodes in the table below are the real economy engine that every later upgrade inherits.
| Priority | Upgrade | Effect | Why it is early-game safe |
|---|---|---|---|
| 1 | Pod Fertility | Speeds up flower ripening | Boosts every other mechanic downstream |
| 2 | Pollen Yield | More pollen per flower | Doubles the value of your pachinko pulls |
| 3 | Pachinko Bias | Slightly shifts drop rates | Unlocks rarer seeds without rerolling |
| 4 | Robot Frame | Unlocks the first helper bot | Begins the automation tier |
| 5 | Satellite Dish | Unlocks global multipliers | Late-first-run spike once you have pods |
If you only remember one Moon Garden tip from this section, remember this: Pod Fertility and Pollen Yield scale multiplicatively with every Garden Pod you add later, so buying them first means every future upgrade feels bigger. Spending Stardust on cosmetic or late-tier upgrades before these two is the second most common beginner mistake after mulching early.
When to Pivot From Safe to Specialised
After you have bought the safe opening priority twice (so Pod Fertility and Pollen Yield are both at level 2 or higher), the build choice starts to matter. Some players lean into rare seeds for higher pollen-per-slot, others lean into automation so they can leave the game running for a few minutes at a time. A practical signal that you are ready to specialise is when your pachinko board routinely hands out three or more rare seeds in a row; at that point the Pachinko Bias upgrade starts to pay for itself.
Building Automation With Robots and Satellites
Automation is what turns Moon Garden from an active clicker into a true cozy incremental. Robots take over repetitive actions inside the garden, and satellites apply global multipliers to the entire production chain. You do not need to unlock both at once, and the community generally recommends bots first because their effects are visible immediately.
Your First Robot
The first robot you can build is a small helper that waters flowers and collects pollen in a single Garden Pod. It is not glamorous, but it removes the most repetitive click in the game and gives you breathing room to plan the next upgrade. Once the first bot is running, the natural next purchase is a second bot for your second pod, and only then a faster bot for the original pod.
This pattern matters because bot speed upgrades are percentage-based, so doubling your pod count usually gives you more raw pollen than speeding up a single pod. If you are unsure how the math lines up, the Moon Garden first hour walkthrough walks through the exact buy order for the first hour of automation.
Satellite Tiers
Satellites are global boosters that float above the garden and apply a small multiplier to every production chain. There are three tiers in the current build, and each tier has four sub-variants. This table shows the typical community consensus on when to invest in each tier.
| Satellite tier | Approx. Stardust cost | Best time to buy | Effect shape |
|---|---|---|---|
| Tier 1 | Cheap, fits in first cycle | After your second bot | Flat +5% to all pollen |
| Tier 2 | Mid-tier, needs a tall tree | After your first specialised build | Conditional +10% based on pod count |
| Tier 3 | Expensive, late-run | Once you have both bots and tier 1+2 | Multiplicative +15% to rare seeds |
A single tier 2 satellite sub-variant can outperform an entire tier 1 set once you cross roughly 50 active pods, because the +10% conditional bonus scales with pod count while tier 1's flat +5% stays static. Rushing straight to tier 3 leaves that compounding window on the table, and the multiplicative +15% on rare seeds means far less when your base pollen-per-minute from tier 2 synergies is still small. Most community math for the moon garden beginner guide path shows players who sit on tier 2 for two or three prestige cycles earn noticeably more stardust per hour than those who splurge on tier 3 early, so patience here directly funds the late-game rare-seed chain.
Mulching, Resetting, and Escaping the Moon
The end goal of Moon Garden is to grow the central tree tall enough to leave the moon, which the game calls escaping. Escaping is not a single button press; it is a milestone you reach after several mulching cycles, with the tree growing taller each time because of your permanent Stardust upgrades.
Reading the Tree Growth Bar
The tree's growth bar is split into segments, and each segment you fill contributes to your final height. Community testing suggests that the final escape requires roughly 12-15 mulching cycles for a player who followed this guide's priority list, or 8-10 cycles for a player who specialised into rare seeds early. If you want a precise number for your build, the Moon Garden game length guide covers the full run-length math.
When You Have Officially Won
When the tree reaches its maximum height, a short cutscene plays and the game rolls credits, but it does not lock you out. Most players keep their save file and continue pushing for rare seeds, harder satellite tiers, and Steam achievements. The game saves automatically, so you can also quit at any time without losing progress; just read the helper text on the exit button before you close, because one of the early settings toggles changes where the save file lives.
Frequently Asked Questions
Is Moon Garden a good game for players who have never played an incremental before?
Yes. The game introduces one mechanic at a time, has no combat, and the helper text on every building explains the math in plain language. Following the safe opening priority in this Moon Garden beginner guide is enough to reach the first Stardust payout without ever feeling lost.
How long does a first run of Moon Garden take?
A first run that reaches the first mulching threshold usually takes around 70 minutes of active play, while a full escape typically takes three to five hours depending on how much automation you unlock. Players who lean into rare seeds can shave a few cycles off that estimate, but the cozy pacing rewards consistent returns over sprinting.
Should I mulch early to get my first Stardust quickly?
No. Mulching before the tree's growth slows to a crawl wastes the payout because Stardust scales with tree height, not time. Wait for the mulch button to show a green projected payout, which is the game's built-in signal that the math is in your favour.
What is the single best Moon Garden tip for a brand-new player?
Read the helper text on every new building before you buy a second copy, and spend your first two Stardust payouts on Pod Fertility and Pollen Yield. Those two upgrades scale multiplicatively with every Garden Pod you add later, so every subsequent purchase feels bigger than it would otherwise.
Can I pause Moon Garden and come back later without losing progress?
Yes. The game auto-saves on every meaningful action and lets you exit at any time through the main menu. Just check the helper text on the exit button the first time you close the game, because one of the early settings toggles changes where the save file is stored on your machine.