
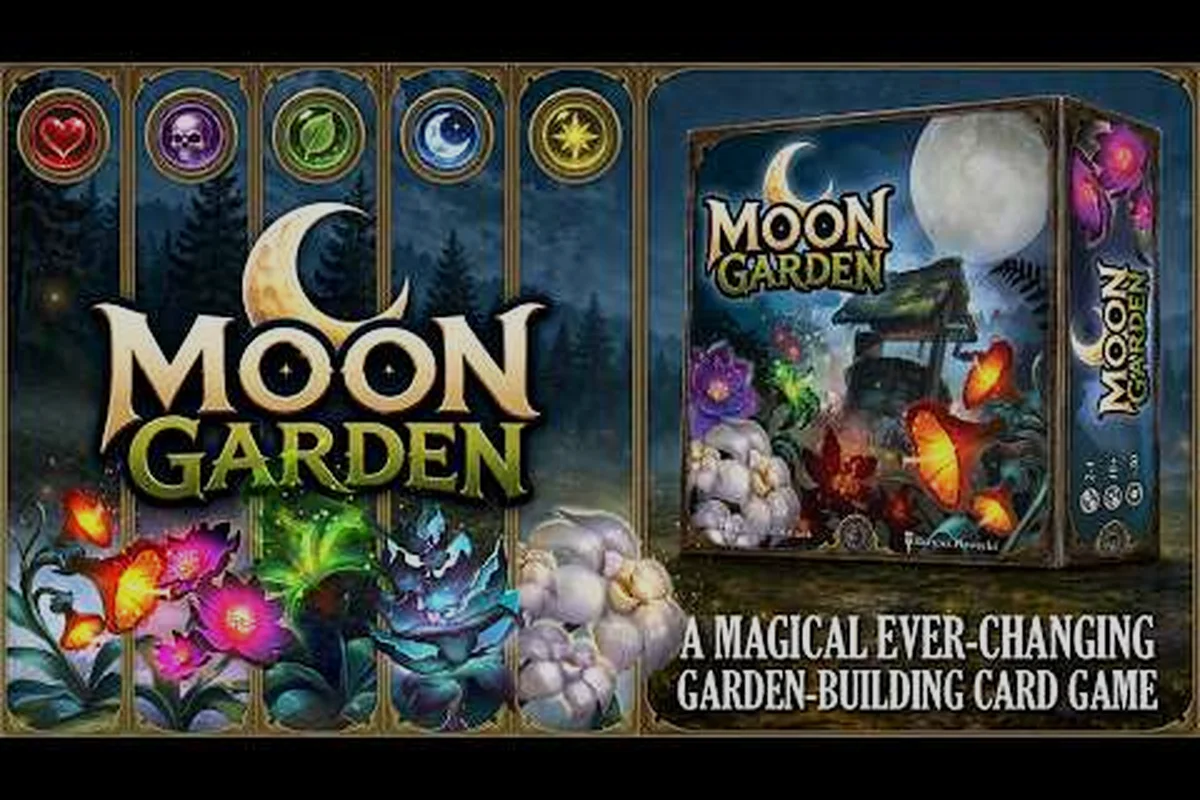
Moon Garden runs itself once you wire the right systems together, and this idle guide shows exactly which machines to buy and which order to buy them in so your pollen and stardust climb without babysitting. According to the official Steam user reviews, the core loop is planting flowers in Garden Pods, spending stardust on permanent upgrades, buying seeds from a pachinko vending machine, mulching the tree so it grows back stronger, and building little robots to help automate production. Every automation layer you stack on top of that loop compounds, which is why a good Moon Garden idle guide saves hours of trial and error in the early hours.
Moon Garden Core Idle Loop and Why Automation Wins
The Moon Garden incremental game is built around a single resource chain that feeds every other system. Flowers in Garden Pods produce pollen, pollen buys seeds from the pachinko machine, rarer seeds produce more pollen, and stardust fuels the permanent upgrades that boost every other number on the screen. When that chain runs by hand it stalls the moment you alt-tab, because nothing keeps producing while you are away. Robots, assembly lines, and satellites exist specifically to remove you from the loop, which is what makes this a true cozy idle game rather than a clicker.
A clear way to read the loop is to split every action into one of three tiers. Tier 1 is active planting, which matters most in the first 15 minutes when only a couple of pods are unlocked. Tier 2 is semi-passive harvesting, which kicks in once your pollen balance outgrows your click speed and you start leaving the game running in the background. Tier 3 is full automation, which is the state you want to reach before the tree mulches for the first time, because the mulching reset only hurts if you still need to click.
| Tier | Player Action | Tools Used | Pollen Per Minute Range (Community) |
|---|---|---|---|
| Tier 1: Active | Manual planting and harvesting | Mouse only, basic Garden Pods | Low single digits |
| Tier 2: Semi-Passive | Occasional seed rolls, occasional pod upgrades | Pachinko machine, mid-tier pods | Double digits |
| Tier 3: Automated | Hands-free growth | Robots, assembly lines, satellites | Hundreds and scaling |
The transition from Tier 2 to Tier 3 is where a moon garden cozy game guide earns its keep, because the upgrade order between the three automation paths is not obvious. Players who dump everything into one building type often stall before the first mulching, while players who follow a layered approach coast through the late game.
Pollen Economy Basics
Pollen is the soft currency of the moon garden incremental guide, and it resets every time you mulch the tree, while stardust is the hard currency that persists across runs. The official community description confirms that spending stardust on permanent upgrades is the single most reliable way to break the early pollen ceiling, because stardust multipliers apply to every seed tier after the mulching. New players who hoard stardust for a "perfect" late-game build usually finish the run with less total output than players who spend stardust aggressively on the first three upgrade tiers.
The pollen economy also rewards diversity, because each Garden Pod species has a slightly different growth curve and the pachinko machine gives better seed rolls when you plant a wider mix. A pod farm built entirely around one flower will cap out faster than a mixed farm, even if the single-flower setup looks more efficient on paper.
Idle Automation Layers: Robots, Satellites, and Assembly Lines
Automation in Moon Garden comes in three flavors, and stacking them is the heart of any moon garden idle guide worth reading. Robots handle small repetitive tasks like harvesting and replanting, satellites multiply the output of every pod on the field, and assembly lines convert raw pollen into higher-tier products that feed back into the seed economy. Each layer has a different cost curve and a different optimal unlock window, so treating them as a single bucket is the most common mistake reported by players on the Steam community guides.
| Automation Layer | Primary Effect | Best Unlock Window | Stalls Without |
|---|---|---|---|
| Little Robots | Replant and harvest on a timer | After first pod expansion | Satellites |
| Satellites | Global pollen multiplier | Mid-run, before first mulch | Assembly line |
| Assembly Lines | Convert pollen to higher-tier goods | Late Tier 2, just before full idle | Upgraded pods |
When you unlock robots first, you buy yourself consistent replanting cycles but your raw pollen output still scales with pod count, which means satellites matter more than robot count once you have three or four pods. The moon garden automation rhythm players describe in community threads is robots for daily cycling, satellites for raw output, then assembly lines to push the last pollen into stardust territory before the tree mulches.
If you want a deeper breakdown of robot upgrades and assembly line routing, the dedicated robot and automation guide walks through each tier in detail, but the short version is that you want at least one of each layer online before you walk away from the keyboard. Anything less and your idle growth is technically running, but it is not actually climbing.
Robot Deployment Order
Little robots are the cheapest automation layer to unlock, and they are also the layer most often overbuilt. One robot per Garden Pod is plenty for the early game, because the robot's main job is to harvest and replant faster than you would by hand, not to multiply your output. Once you cross five pods, start thinking about a second robot per pod to cover seed-specific timing windows, and only then should you invest in robot upgrades that boost their speed or pollen bonus.
A common moon garden tip is to deploy robots in pairs rather than singles, because paired robots can handle two adjacent pods on offset timers, which keeps the pachinko machine fed with constant seed returns. Singles tend to bunch up on the same harvest beat, which creates gaps where the pachinko machine has nothing to chew on.
Satellites and Global Multipliers
Satellites are the global pollen multiplier, and they are the single biggest lever you can pull in the late Tier 2 phase. Each satellite adds a percentage boost to every pod on the field, which means a single satellite behind ten pods outperforms a satellite behind two pods by a factor of five. This is why the moon garden incremental community recommends holding off on satellite purchases until you have at least four pods online, even if the satellite icon lights up earlier.
The math gets even more favorable once you combine satellites with assembly lines, because the lines convert the multiplied pollen into higher-tier products that the pachinko machine values more. Skipping the satellite phase is the fastest way to hit a wall just before the first mulching, and the wall is almost always because the raw pollen output is too low to feed the assembly line.
Stardust Farming and Permanent Upgrade Order
Stardust is the persistent resource that carries every run, and learning how to farm it efficiently is the core skill the moon garden incremental guide tries to teach. According to the official store description, stardust is earned through specific milestones like mulching the tree, completing pod collections, and certain assembly line outputs, and it persists across runs so every milestone you hit makes the next run shorter. A common rookie mistake is to treat stardust like pollen and spend it on the first upgrade that looks useful, when the optimal order is much narrower.
| Upgrade Tier | Priority | Effect on Next Run | Recommended Spend Share |
|---|---|---|---|
| Pod Multiplier | Highest | Multiplies every future pod's pollen | 40% of stardust |
| Seed Luck | High | Better pachinko rolls, rarer seeds | 25% of stardust |
| Robot Speed | Medium | Faster replanting cycle | 20% of stardust |
| Satellite Range | Medium | Larger satellite boost area | 10% of stardust |
| Cosmetic | Lowest | No gameplay effect | 5% or less |
Spending 40% of your stardust on pod multipliers is the single most reliable way to shorten runs, because the multiplier applies to every pod you ever plant for the rest of that save file. The Moon Garden upgrade guide goes into the exact numbers behind each tier, but the short version is that pod multipliers compound across mulching cycles while cosmetic stardust sinks do nothing.
Stardust Sources and How to Maximize Them
The most reliable stardust source is the first tree mulching, because the mulching bonus scales with the height your tree reached before the reset, and the tree grows faster when your idle output is high. The second most reliable source is completing a full pod collection, which means planting every available species at least once, and the third is hitting specific assembly line output thresholds. Players who chase all three sources in parallel tend to earn stardust roughly 30% faster than players who focus on a single source, according to community-reported numbers from the Steam guides hub.
One subtle stardust trick is that the pachinko machine occasionally drops a rare seed that grants a small stardust bonus when it is fully grown, which means saving a couple of seed slots for rare rolls can pay off even if the rare seed itself produces less pollen than a common seed would. The seed luck upgrade directly improves your odds of hitting those rare rolls, which is why seed luck sits in the high-priority tier of the spend table above.
How to Get Pollen Faster in Moon Garden
If you are specifically asking how to get pollen in Moon Garden faster, the answer is layered automation rather than a single trick. The fastest pollen growth comes from a pod farm with at least four pods, two satellites, one robot per pod, and an assembly line running in the background, because each layer multiplies the layer beneath it. The order of purchase matters, so buy the second pod before the first satellite, the second satellite before the first assembly line upgrade, and only then start spending on robot speed.
A practical pollen benchmark from community testing is that a mid-run setup with the above configuration should produce a few hundred pollen per minute, while a late-run setup with all permanent upgrades purchased can reach the low thousands per minute. These numbers shift with stardust multipliers, so the actual ceiling on your run depends heavily on how aggressively you spent stardust in earlier runs.
Mulching Strategy and Run Length Optimization
Mulching the tree is the moment that resets your soft resources while keeping your stardust, and it is the single most important decision point in any moon garden idle guide. Mulch too early and you lose the pollen momentum that feeds your assembly lines, mulch too late and you waste the stardust multiplier window that only opens after a reset. The optimal mulching point is when your pollen-per-minute growth has flattened, because flat growth means further investment gives diminishing returns and the stardust from a reset is worth more than another hour of slow climbing.
| Run Phase | Pollen Behavior | Action | Risk if Delayed |
|---|---|---|---|
| Early Run | Exponential climb | Push pod count and satellites | Wasted early stardust |
| Mid Run | Steady climb | Add assembly lines and robots | Idle plateau |
| Late Run | Plateau | Mulch the tree | Lost stardust window |
| Post-Mulch | Restart with multipliers | Spend stardust immediately | Soft-lock on next plateau |
Players who follow the plateau-mulch rule typically run two to three hours per cycle, which fits the casual pace the game is designed for. The Moon Garden game length and ending guide breaks down the exact timing of each phase, but the short version is that you want a mulching cadence of about three to four runs per evening session, with each run shorter than the last because of stardust carry-over.
When to Walk Away from the Keyboard
A common question in the moon garden how to get stardust conversation is when it is safe to leave the game running, and the answer is once all three automation layers are online and the pollen-per-minute graph has held steady for at least ten minutes. Before that point, a player clicking through the pachinko machine will outpace the automation, so leaving the game idle actually loses progress. After that point, the automation handles everything, and the only reason to return is to check whether the next mulching threshold has been reached.
Mulching Timing and the Permanent Upgrade Window
The most common stardust mistake is buying permanent upgrades before the first mulching, because every stardust coin you spend before the reset is a coin you could have multiplied by waiting for the post-mulch bonus. The community-recommended approach is to bank roughly half your stardust through the first run and spend it immediately after the first mulching, which gives the stardust a permanent boost that applies to every future run. New players who spend early often find themselves locked out of mid-tier upgrades for several runs, which slows the overall progression curve more than the early spend helped.
Cozy Game Pacing: Building a Sustainable Idle Routine
Because Moon Garden is a cozy game at heart, the idle loop is designed to support a relaxed play schedule rather than a grinding marathon. The most efficient routine reported by players is one short active session per day, followed by a longer idle session overnight, with a mulching check at the start of each new day. This pacing works because the assembly lines keep producing while you sleep, the satellites keep multiplying, and the pachinko machine keeps rolling, which means you wake up to a garden that has effectively played itself for eight hours.
| Time of Day | Player Action | Automation State | Expected Output |
|---|---|---|---|
| Morning | Check overnight growth, mulch if needed | Robots and satellites online | Modest pollen gain |
| Afternoon | Active session, spend stardust, expand pods | All three layers online | Steady pollen gain |
| Evening | Plant rare seeds, prep for overnight | Full idle configuration | Heavy pollen gain |
| Overnight | Hands-off, no input | Hands-free | Largest pollen gain |
A cozy game guide is only useful if it respects the cozy pace, so the goal of the automation layers is not to maximize pollen per minute but to maximize pollen per real-world day. Real-world day output is what determines how fast the tree grows, and the tree is the only thing that actually moves the ending forward.
System Requirements and Smooth Idle Performance
Before you leave the game running overnight, it is worth checking that your hardware meets the recommended specs, because dropped frames on long idle sessions can occasionally desync timers. Steam lists minimum specs as Windows 10, an Intel Core i3-2100 or AMD FX-4300, 4 GB of RAM, and Intel HD Graphics 4000 or equivalent, while the recommended tier is Windows 10 or 11, an Intel Core i5-4590 or AMD Ryzen 3 1200, 8 GB of RAM, and an NVIDIA GTX 750 or AMD R7 260. Most idle sessions run fine on the minimum tier, but players running 16-hour overnight sessions report smoother timers on the recommended specs.
Controller and UI Tips for Long Sessions
Moon Garden is a mouse-driven incremental with no combat, and the on-screen helper text is genuinely worth reading the first time each new building unlocks, because the helper text explains the automation timer before the UI starts stacking multiple mechanics on top of it. Launch-day player reviews noted that the UI introduces several systems at once, which can overwhelm newcomers, so reading the helper text in order is the easiest way to avoid that overwhelm. There is no controller support to configure, but the mouse-only interface is light enough that a trackpad works fine for the active afternoon session.
Frequently Asked Questions
Is Moon Garden a true idle game or do I need to keep clicking?
Moon Garden is a true idle game once robots, satellites, and assembly lines are all online, which usually happens around the mid-run phase. Before that point the game is more of a clicker, because the early pods produce pollen too slowly for automation to outpace manual harvesting. The transition to full idle is the main milestone the early game is steering you toward.
How do I get stardust in Moon Garden?
Stardust is earned by mulching the tree, completing full pod collections, and hitting certain assembly line output thresholds, and it persists across runs. The fastest way to farm stardust is to push your run to the pollen plateau, mulch at the right moment, then immediately spend the stardust on pod multipliers so the next run starts with a permanent boost.
What is the best permanent upgrade to buy first in Moon Garden?
Pod multipliers are the best first permanent upgrade because they compound across every future pod and every future run. Seed luck is the second priority because it improves pachinko rolls, and robot speed comes third because the speed bonus only matters once you have enough pods to keep the robots busy. Avoid spending stardust on cosmetic upgrades until you have the four gameplay tiers maxed.
Can I finish Moon Garden without spending real money?
Yes, Moon Garden is a one-time purchase with no microtransactions, and the ending is reachable purely through the idle loop, stardust multipliers, and mulching strategy. The pixel-art visuals and gentle soundtrack do not lock any content behind a paywall, so the cozy game loop is fully accessible on a single buy-in.
How long does a single run of Moon Garden take?
A single run typically lasts two to three hours for a first-time player, and the length drops to roughly 45 minutes once you have spent stardust on the first two permanent upgrade tiers. The total ending can be reached in about a week of casual play, which fits the cozy pacing the developer designed around.