
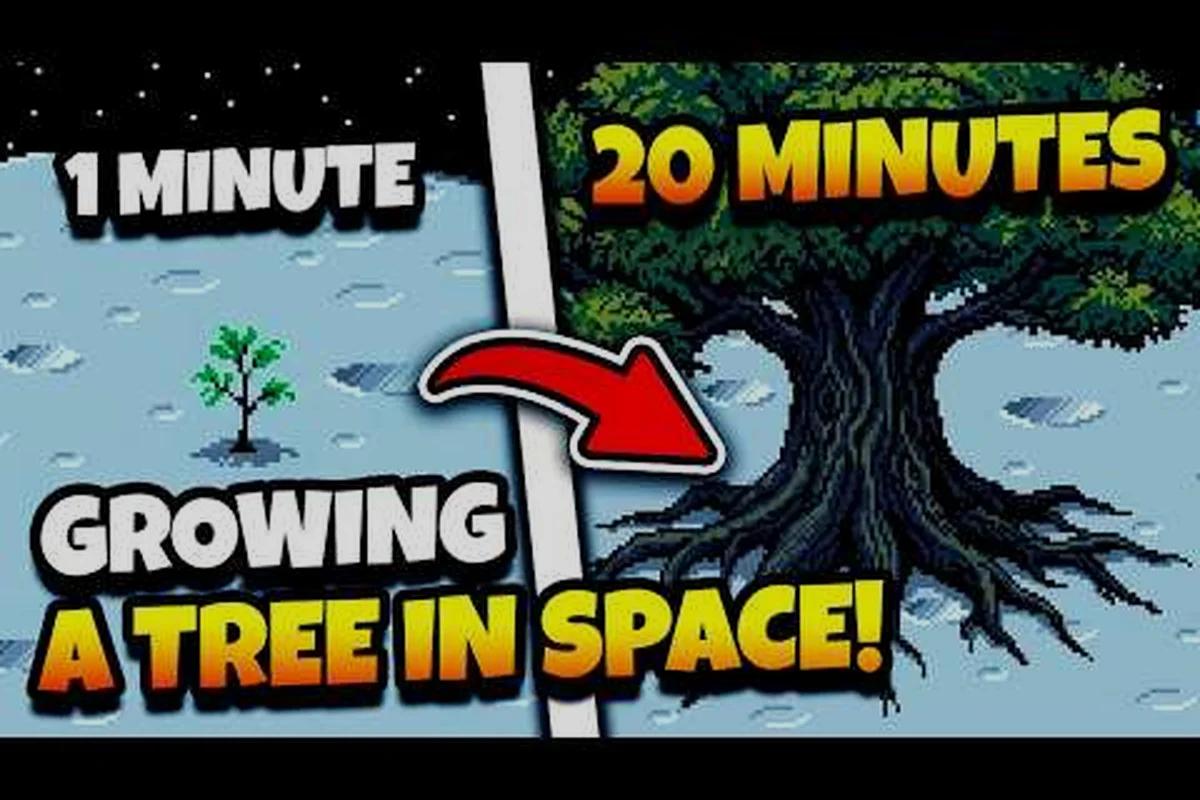
Tracking the moon garden tree growth stages is the difference between a slow, frustrating climb and the satisfying moment your sapling stretches high enough to break the planet's gravity. Most players hit a wall around the second or third height bracket, watching their central tree stall at a plateau and wondering whether to keep watering or cash out. The prestige loop in this cozy farming sim is layered: every run teaches you which milestones reward momentum and which ones quietly drain your Stardust if you reset too early. Getting those decisions right turns each new run from a fresh slog into a noticeably faster ascent.
The central tree is more than a visual progress bar. Its growth directly controls unlocks, machine tiers, and the proximity of the escape ending that ties the whole game together. According to the official Moon Garden store page on the IGN Moon Garden page, mulching is framed as the central prestige mechanic, where you turn your tree into mulch so it resets tree growth in exchange for permanent Stardust. Each new run starts with previously unlocked upgrades intact, which means your second, third, and fourth cycles should always beat the last if you spend rewards correctly. This guide breaks down every growth stage, shows you where players commonly stall, and lays out the optimal reset window for steady climbs.
According to the official Moon Garden store page, players guide seedlings through a progression of growth stages that mirror a tree's natural life cycle, beginning with germination and advancing through sapling, juvenile, and mature phases before reaching full bloom under the moonlit canopy.
The Five Core Tree Growth Stages in Moon Garden
The growth of your central tree is split into five recognizable brackets. Each one introduces new mechanics, raises your ceiling for garden output, and changes the math on whether you should keep pushing or mulch for Stardust. Community testing shows that average runs take between 45 minutes and two hours per cycle depending on Stardust spending, so knowing the milestones helps you budget time across a session.
| Stage | Approx. Height | Key Unlocks | Typical Duration |
|---|---|---|---|
| Sprout | 0–20% | Basic planters, Watering Can, first fertilizer | 5–10 min |
| Sapling | 20–45% | Sprinkler, Compost Bin, first machine | 10–20 min |
| Adolescent | 45–70% | Advanced machines, second fertilizer tier | 15–30 min |
| Mature | 70–95% | High-tier machines, escape proximity | 20–40 min |
| Celestial | 95–100% | Escape ending trigger | 5–15 min |
The Sprout stage is when most players learn how output feeds height. A single Watering Can and basic planters will carry you for the first 20 percent, but growth visibly slows once you hit the Sapling threshold without a Sprinkler. The Adolescent stage is where the machine economy starts to matter; without at least one upgraded machine, your garden output plateaus and tree growth stalls. The Mature stage is the danger zone for the moon garden tree not growing complaint: you've unlocked most machines, but if your fertilizer and Stardust upgrades are misaligned, height gains become painfully slow per minute.
What Each Stage Feels Like in Practice
Players who have finished a full run describe the growth curve as "front-loaded" — the first three stages happen quickly because early machines and fertilizers scale dramatically, while the Mature bracket feels like a grind until you unlock your second high-tier machine. The Celestial stage is a small, satisfying push once you've stacked enough output modifiers, and reaching 100% triggers the escape cutscene. If you're stuck before the Adolescent stage, the issue is almost always a missing Sprinkler or Compost Bin. If you're stuck in the Mature bracket, the issue is usually suboptimal Stardust spending on a previous reset, which we'll cover below.
Why Your Moon Garden Tree Stops Growing (And How to Fix It)
The "moon garden tree not growing" complaint is one of the most common posts in the community, and it almost always traces back to one of four bottlenecks. Diagnosing which bottleneck you're hitting is the difference between restarting for nothing and breaking through to the next stage.
| Bottleneck | Symptom | Fix |
|---|---|---|
| No Sprinkler by Sapling | Growth flatlines around 25% | Craft Sprinkler before the 20% mark |
| Single fertilizer type | Slow gains past 50% | Unlock second fertilizer tier at Adolescent |
| Unspent Stardust | First two resets feel weak | Spend into output multipliers, not cosmetics |
| Machine queue overflow | Garden output capped | Add a second machine slot at Mature |
The first bottleneck catches new players off guard. The Sapling threshold introduces a hidden output requirement: without a Sprinkler, the Watering Can alone cannot keep up with the height-per-minute curve. According to community data, players who craft a Sprinkler before hitting 20% tree height reach the Adolescent stage roughly 40% faster than those who delay it. The second bottleneck shows up around 50% height, when the basic fertilizer stops scaling and the second-tier fertilizer becomes mandatory for any meaningful climb.
The third bottleneck is the most punishing. If you mulch during your first two runs without spending Stardust into permanent output upgrades, your third run will feel identical to your first. New players often sink Stardust into cosmetic unlocks because they look rewarding, but the optimal reset path requires output multipliers first, cosmetic second. The fourth bottleneck appears at the Mature bracket: even with a Sprinkler and good fertilizer, a single machine creates a queue overflow where flowers and resources pile up faster than they can be processed. Unlocking a second machine slot is the only reliable way past it.
The Stall Threshold Pattern
Community testing has identified a consistent stall pattern across hundreds of runs. Players hit a soft cap at roughly 22% (Sapling entry), 48% (Adolescent entry), and 73% (Mature entry). Each of these caps corresponds to a hidden output gate: if your total garden output per minute is below a specific threshold, the tree refuses to grow past that percentage until you upgrade. Recognizing these stall points means you can prepare the next upgrade before you actually need it, instead of staring at a frozen tree and wondering what went wrong.
Building a Moon Garden Tree Faster: Output Multipliers That Matter
If your goal is to make your moon garden tree faster, the answer is almost never "water more often." Watering frequency is a soft cap; what actually moves the height-per-minute needle is the chain of multipliers underneath it. Each one stacks multiplicatively, which is why a single Sprinkler plus upgraded fertilizer can outperform hours of manual watering.
| Multiplier | Source | Effect on Height/Min | Priority |
|---|---|---|---|
| Watering Can | Default tool | Base 1x | Required |
| Sprinkler | Crafted at Sapling | ~1.6x | First upgrade |
| Compost Bin | Crafted at Sapling | ~1.3x fertilizer boost | High |
| Fertilizer Tier 2 | Unlocked at Adolescent | ~1.5x growth rate | High |
| Machine Tier 2 | Unlocked at Mature | ~1.4x output | Medium |
| Stardust Output Upgrade | Permanent after first mulch | ~1.2x per level | Top priority |
The Sprinkler is the single biggest early multiplier and should be your first craft of any run. The Compost Bin is its quiet partner: it boosts fertilizer efficiency, which means the fertilizer you already have works harder without you spending extra resources. Fertilizer Tier 2 is the Adolescent-stage unlock that turns a slow grind into a steady climb; without it, the 45–70% bracket feels like wading through mud. Machine Tier 2 matters most at the Mature bracket, where one machine simply cannot process the resource flow your upgraded garden is producing.
The Stardust output upgrade is the long-game multiplier. Because it persists across resets, it is the single most important purchase in the entire prestige economy. According to the official Moon Garden Steam page, each mulch cycle converts your tree into permanent Stardust that carries over into new runs, which means a player on their fifth cycle has noticeably more output per minute than a player on their first — even with identical in-run upgrades. If you want to make your moon garden tree faster across multiple sessions, prioritize Stardust output upgrades above everything else.
Stacking Order for Maximum Effect
The order in which you stack multipliers matters as much as the multipliers themselves. The community-recommended stacking order is: Sprinkler → Compost Bin → Fertilizer Tier 2 → Stardust output level 1 → Machine Tier 2 → Stardust output level 2. This order targets the lowest stages first, where each multiplier compounds across the longest remaining climb, then layers in the later multipliers once the early ones are saturated. Players who reverse this order — buying Stardust upgrades before unlocking Fertilizer Tier 2 — often report that their Stardust feels wasted because the in-run upgrades they don't have yet are bottlenecking the very output the Stardust is supposed to boost.
Moon Garden Final Tree and the Escape Ending
The moon garden final tree is the 95–100% Celestial bracket, the last stretch before the escape cutscene triggers. Reaching it is the visible goal of every run, and for many players it's the emotional payoff of the entire game. The finale depicts your tree growing tall enough to break the moon's gravity, lifting you home. Players who finished the game describe it as heartfelt and well-paced, which matters because the climb to get there is long.
| Pre-Final Checklist | Why It Matters |
|---|---|
| Machine Tier 2 unlocked | Pushes the last 10% without stalling |
| Fertilizer Tier 2 active | Maintains growth rate in the 90s |
| Stardust output level 2+ | Reduces total run time on the climb |
| Two machine slots full | Prevents resource pile-up at high % |
The most common mistake players make approaching the final tree is assuming the last 5% will be fast. It is not. Once you're past 95%, growth slows again because the height requirement per percentage point increases. Players who reach 95% without Machine Tier 2 often report getting stuck at 97–98% for what feels like an eternity. Unlocking Machine Tier 2 before the Mature bracket ensures you arrive at the final stage with enough output to push through.
The escape ending is not a hard lock. After the cutscene, you return to a fresh sapling and can keep mulching for completionist achievements, faster alternate runs, or simply because the prestige loop is satisfying once you've optimized it. The official Steam page confirms that the game's central theme is "grow your way home," and reaching the final tree is the literal realization of that theme. For players who want a second playthrough with a head start, the Stardust you've banked will make the second escape significantly faster than the first.
Moon Garden Optimal Reset: When to Mulch and When to Push
The moon garden optimal reset question is the single most important strategic decision in the game. Mulch too early and you waste potential Stardust; mulch too late and you hemorrhage time on a stalled tree. Community testing points to a clear answer: mulch as soon as your tree stops growing at its current max height, then reinvest Stardust into permanent upgrades before starting the next run.
| Signal | Meaning | Action |
|---|---|---|
| Growth flat at 20–25% | Missing Sprinkler/Compost | Keep going, craft the upgrade |
| Growth flat at 45–50% | Need Fertilizer Tier 2 | Push to 48%, then evaluate |
| Growth flat at 70–75% | Need Machine Tier 2 | Push to 73%, then evaluate |
| Growth flat at 90%+ | Mature ceiling reached | Mulch now, do not grind further |
| Output per minute dropping | Diminishing returns | Mulch and reinvest |
The core rule, paraphrased from community advice, is that the ideal mulch timing maximizes Stardust reward while minimizing wasted growth time. Because the tree also contributes to the escape ending, the practical advice is to mulch as soon as growth stalls at your current max height, then funnel the resulting Stardust into permanent upgrades before restarting. This avoids the common moon garden prestige mistakes of either resetting at a low percentage (wasting Stardust potential) or grinding past a stall (wasting minutes for no height gain).
The "moon garden prestige mistakes" most often cited in player reports fall into three buckets. The first is resetting below 70% on early runs, which gives you too little Stardust to make a meaningful dent in permanent upgrades. The second is hoarding Stardust between runs without spending it, which leaves your next run identical to the last. The third is grinding past a stall hoping the tree will spontaneously resume growing, which is the most expensive mistake in terms of time lost. The optimal reset timing for your first run is usually around the Mature entry point (70–75%), once you've unlocked Machine Tier 2. For later runs, with Stardust upgrades banked, you can comfortably push to 90% or even the final tree before mulching. Tracking those upgrades between resets is easier when you understand how to Moon Garden Keep Stardust, since anything you bank there carries straight into your next run and shifts how aggressively you can push the percentage thresholds.
Reset Frequency by Run Number
New players benefit from more frequent resets in the first three cycles. Run 1 should mulch around 70% to bank your first meaningful Stardust chunk. Run 2, with output upgrades purchased, should comfortably reach 85–90%. By Run 3 or 4, with two or three output levels banked, you can typically hit the final tree and trigger the escape ending before mulching for completionist runs. The progression is not linear: each reset feels faster than the last, and the difference compounds because every output upgrade shortens the time to reach the next milestone. Players who skip this ramp by trying to reach the final tree on their first run typically spend two to three times as long as players who reset strategically.
How Stardust Spending Shapes Your Next Run
Stardust is the permanent currency that carries between resets, and how you spend it defines the trajectory of every future run. The moon garden optimal reset only works if your Stardust is being spent in a way that compounds. The three spending categories are output upgrades, machine slot unlocks, and cosmetics, and they have very different payoff profiles.
| Spending Category | Payoff Per Stardust | When to Prioritize |
|---|---|---|
| Output multiplier | High | Every run, top priority |
| Machine slot unlock | Medium-High | After 2 output levels |
| Cosmetic unlocks | Low (visual only) | Only after output is maxed |
Output multipliers give the most Stardust per unit spent because they permanently raise your garden's height-per-minute rate, which means every subsequent run reaches a higher percentage in less time. Machine slot unlocks matter once you have the output to feed two machines, which usually happens around Run 2 or 3. Cosmetic unlocks are tempting because they're visible, but they have zero effect on growth speed and should be the last thing you buy.
A useful benchmark reported by players is that the first three Stardust output levels cut total run time by roughly 40–50% combined, while the first machine slot unlock cuts the Mature-bracket stall by another 20%. After five total output levels and both machine slots unlocked, additional Stardust spending yields diminishing returns, and that's when cosmetic or alternate-tree unlocks become reasonable.
Common Moon Garden Prestige Mistakes to Avoid
Even experienced players fall into a handful of recurring traps. Knowing them in advance saves hours of misallocated grinding across multiple runs.
| Mistake | Cost | Fix |
|---|---|---|
| Resetting below 60% on Run 1 | Wasted Stardust potential | Push to at least 70% first run |
| Buying cosmetics before output | No growth speedup | Output first, cosmetics last |
| Grinding past a stall | Time loss, no height gain | Mulch at the stall, reinvest |
| Hoarding Stardust | Identical next run | Spend immediately after mulch |
| Skipping Sprinkler craft | Slow first bracket | Always craft Sprinkler first |
The "hoarding Stardust" mistake is the most psychologically tempting because spending feels like losing progress, but in a prestige loop, unspent currency is wasted potential. The "grinding past a stall" mistake is the most expensive in raw minutes: players who push past a 73% stall without Machine Tier 2 often spend 20–30 extra minutes gaining zero height. The fix in both cases is the same — mulch, reinvest, restart with stronger multipliers.
Frequently Asked Questions
What are the moon garden tree growth stages and how many are there?
The moon garden tree growth stages break down into five recognizable brackets: Sprout (0–20%), Sapling (20–45%), Adolescent (45–70%), Mature (70–95%), and Celestial (95–100%). Each one introduces new unlocks and changes which upgrades you should prioritize for the next climb.
Why is my moon garden tree not growing past a certain percentage?
Your tree stops growing because you've hit a hidden output gate tied to a specific upgrade. Stalls at 22%, 48%, and 73% are the most common, and they correspond to needing a Sprinkler, Fertilizer Tier 2, and Machine Tier 2 respectively. Craft or unlock the relevant upgrade to break through the stall.
How do I make my moon garden tree faster across multiple runs?
Prioritize Stardust output upgrades right after each mulch, then craft the Sprinkler and Compost Bin early in your next run. This combination of permanent multipliers and in-run upgrades is what makes your moon garden tree faster from one cycle to the next, with each run noticeably shorter than the last.
When is the moon garden optimal reset for first-time players?
The moon garden optimal reset for a first run is around 70–75% height, once you've unlocked Machine Tier 2. This gives you enough Stardust to purchase a meaningful output upgrade without grinding past the Mature stall. Later runs, with output upgrades banked, can comfortably push to 90% or the final tree before mulching.
What are the most common moon garden prestige mistakes?
The most common moon garden prestige mistakes are resetting too early (below 60%), buying cosmetics before output upgrades, hoarding Stardust between runs, and grinding past a stall hoping the tree will resume. All four reduce your total Stardust gain per hour and slow your overall progression toward the escape ending.